Showing posts with label Home Improvement. Show all posts

Thursday, January 27, 2011

Snow Day Success!

Have you ever been so excited and happy you get little hiccups in your stomach?  That's the kind of excitement I had last night at the end of my productive snow day.  Yesterday morning, I felt really motivated to get some things done today.  To feel like I had a plan, I made a list  yesterday morning.

Remember this ruckus?

Well...I started doing a few things around the apartment, then decided to try to take a chunk out of the monster that was cleaning out that closet.  With my personality, it is nearly impossible to start something without finishing it.  I started by sorting a bunch of papers and filing them in my filing cabinet.  Before I knew it, everything that was in that closet was out, and my living/dining room were a wreck.  Since I had the opportunity, and had already started, I decided to just go with it!  I knew I would need some better storage options.  The closet is very deep, so it would be nice to have some shelves to take advantage of all that room.  So, I changed out of my snow day PJs, showered, and headed to Target.  They had three-tier shelving units on sale for just $15, so I grabbed one of those and stocked up on stacking storage bins as well.  After browsing at a bookstore and Marshalls, then stopping to get a few groceries, I came home around 6:30.  I was starving, but couldn't contain my excitement.  I opened the box and...


Great, another assembly project.  At this point, I took a break to cook dinner and eat, putting together the shelves at the same time.  It really wasn't hard at all...just snapping together some pieces.  Then came the tricky part.  Figuring out how to organize.  I'm sure it will be a continual process as I live with it, but for now I think I have things pretty well under control.  Here's my closet after:


YAHOO!  It's so clean and pretty.  As I was bringing in my green and blue boxes, I realized I probably subconsciously was trying to channel some Crate and Barrel.  They have an online sale right now on closet storage, but I KNOW I was able to do mine for cheaper than if I bought from them.  Anyway, here's the breakdown of how things are stored: 

I have had that blue box since Freshman year of college, and it is now my "gift-wrapping box".  It holds all my gift bags, tags, boxes, tissue paper, and ribbons.  I bought that oval trash bin for $2 at Target to stick my rolls of wrapping paper in.  On the left, I have a metal two-tier tray table that I actually got at Goodwill a few years back.  it wobbles a little bit, but perfectly holds bubble wrap and shipping stuff on the bottom shelf and fabric scraps on the top.  My sewing basket fits right underneath it, too!


Check this out!  As I walked through the dollar spot at Target, grabbing a Valentine's Tee for my pup (yep, I'm one of those people), I found these little cuties.  Each magazine file is cardboard, so they won't last forever, but they were each a dollar.  So, I snatched the last six they had, which amazingly fit perfectly across the top shelf to hold my magazines.  Before, my mags were stacked one on top of the other on my top shelf in my coat closet.  Now, they're easy to grab for reference.  The second shelf holds my camera accessories, cards and stationary, crafting supplies, and two matching pencil cups to hold more crafting necessities.  The bottom shelf holds more crafting stuff and my toolbox bin (which, miraculously matched my new boxes).  


These were already hanging in my messy closet, but I wanted to show ya'll for some ideas.  I got these sticker whiteboards for Christmas.  It's great to have somewhere to keep track of projects I want to complete and things I'd like to purchase.  It's a good motivator!  Also, the calendar to the left is a fun project I did over the summer.  I bought the template and used scrapbooking supplies to decorate and embellish each month.  It's an infinite calendar to remind me of holidays and birthdays.  I'm sure you could easily make your own!


 Finally, I was able to put up all my awards and plaques from being an RA in college.  They were just sitting in a box, so getting them on the wall frees up more room and gives me a reminder of those days when I open my closet!


So here is all that's left from my messy closet.  Some things I need to bring to school in that white trash can, empty baskets and bins, and a table of decorations I either need to put up, stash, or trash.  


It feels SOOO good to get that done!  I've probably opened the door and admired it at least half a dozen times since I finished.  I just love how everything is accessible, looks nice, and there is room for my exercise ball to sit on the floor without knocking things over!  

What organization projects have you done that have given you a major sense of accomplishment?  Do you have something in mind that you want to get organized?  I encourage you to do it!  It sure feels GOOOOOD!

Wednesday, January 12, 2011

The TV Stand That Barely Made It...

So back on Black Friday, I had ordered this TV stand from JCPenney.com.  I was so excited.  I have two black bookcases, and was searching and searching for months for a black (not espresso) TV stand with flush edges to go in the middle of them to hold my TV.  I couldn't find one...at least one that I could afford...by the time I started moving into my apartment mid November.  Fortunately, my parents lent me an old piece that belonged to my sister.  The front doors didn't work very well, there were stains on it, cobwebs stuck on it, didn't hold everything right...but it worked for the time being:


But, this one was on sale (still is apparently) from $399 to $189.  It was advertised for a kids' room, but I don't care!  I was excited, then got upset it wasn't showing up on my bank account.  Turned out it was back-ordered.  So, they just delivered it yesterday.  And left it in the snow.  Fortunately, I wasn't far, so ran home to drag it inside.  Today we had another snow day, so instead of teaching, I put it together!

Here is the box that doesn't look so big, but sure was heavy and awkward pulling in through two doors by myself on an icy porch:


One thing you will learn about me quickly (and already know if you know me) is that I am borderline OCD with my organizing.  I organize EVERYTHING.  When I was an RA in college, I used to beg to alphabetize the 400 name cards for our residents because I thought it was fun.  Yeah...that bad.  Anyway, I think it's easiest when building or assembling something out of a box like this to put all the like pieces together, in alphabetical order.  Yes, it takes a little bit of time, but I think it saves you time (and frustration) while you're assembling.  So, I pulled out all of the styrofoam onto my freshly swept and mopped floors to empty the box, and organized the pieces:


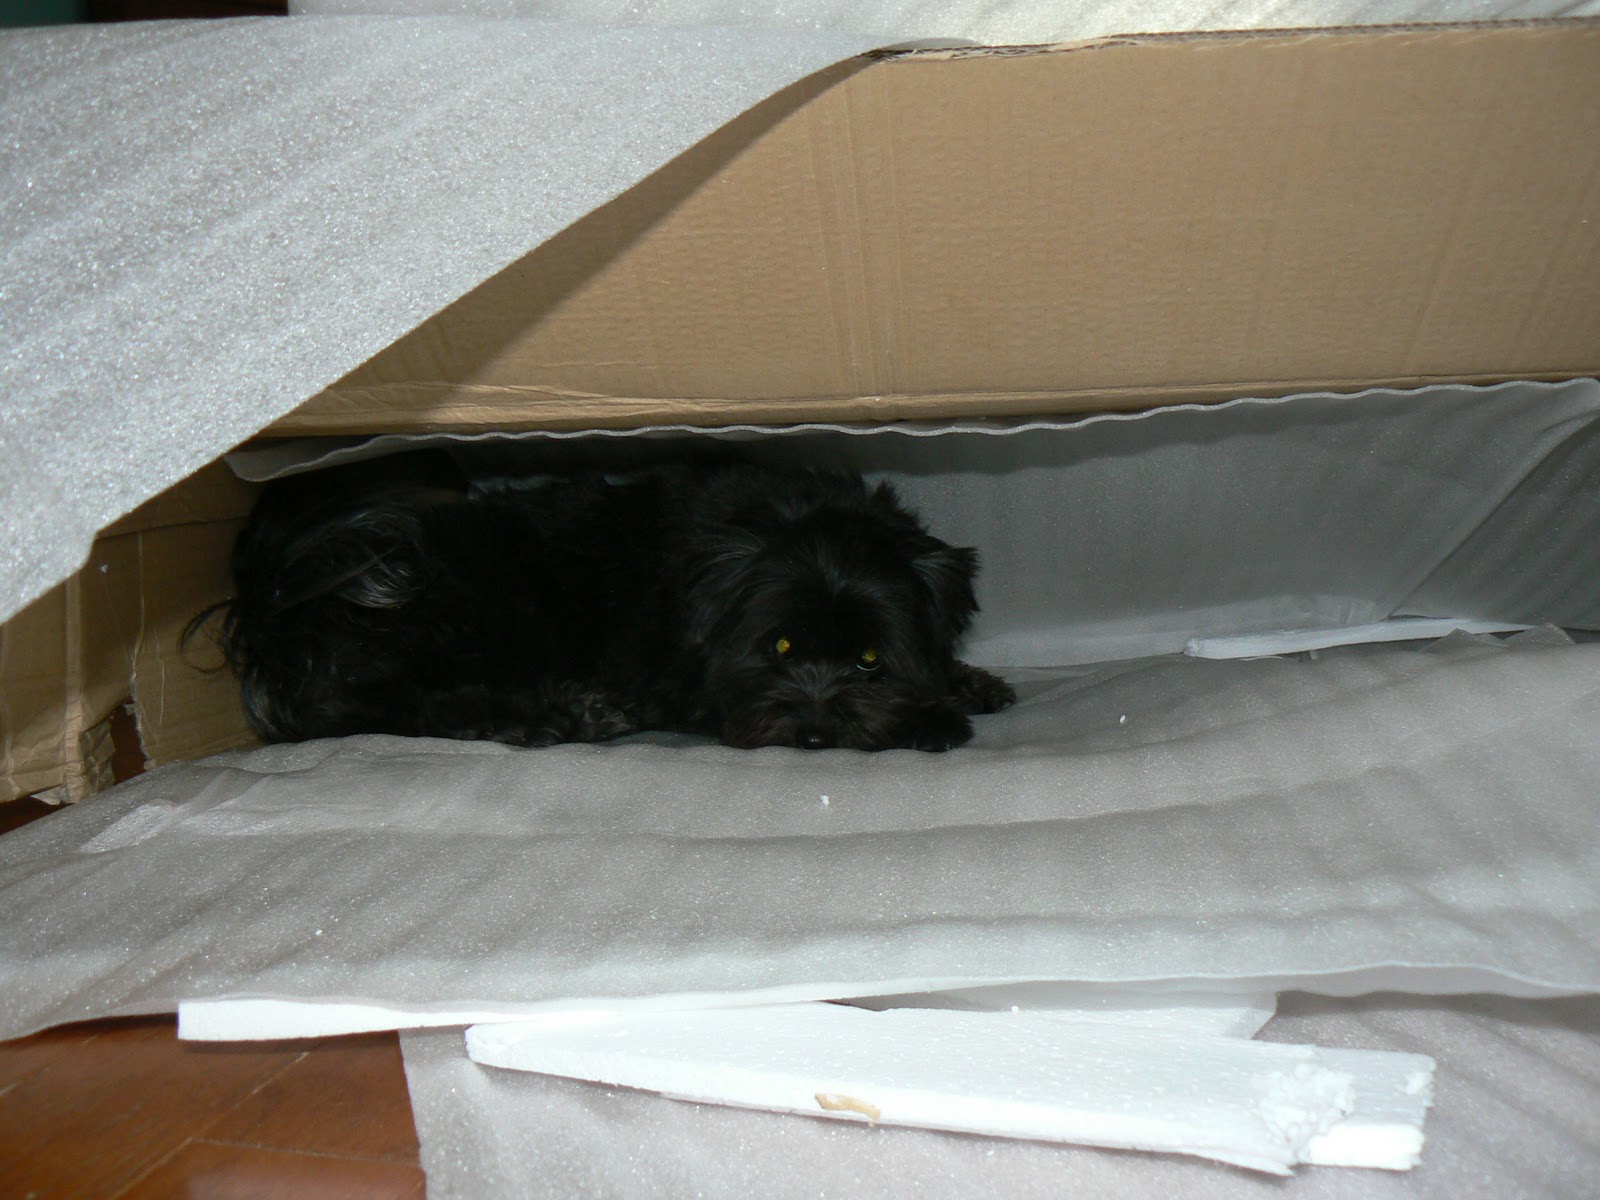
Then my cute little pup, Akela made herself at home in the box.  She thinks she's a human child.  I'm not even kidding:


Then, I got to work.  It wasn't so bad really.  The most annoying part was the styrofoam balls sticking to EVERYTHING.  I had to wipe every piece off before I used it...twice.  The instructions said to use glue, but I didn't have any.  So, I'm hoping it all stays sturdy...at least for a few years.  The first part went pretty fast.  I got all these pieces put together in about 20 minutes:


I was excited it was going so fast.  Then, I went on to the next step.  Yep...put the middle piece in upside-down.  I'm not usually someone who does everything carefully and then goes back to finalize it.  So I had already twisted the cap locks and hammered the plastic covers into the cap lock holes.  I had to undo all that, so there were a few casualties:


I got nervous then.  What if I didn't have enough?!?!?  (Turns out I did, thanks to the "spare parts" bag).  So, I fixed it!


That took a while.  Then, came the really challenging part.  Getting the giant, heavy top on to perfectly line up with the TWELVE rods into the correct TWELVE holes.  Not an easy feat with just little ol' me. But, after a lot of adjusting, re-adjusting, walking around like a clumsy cartoon character carrying an oversized painting, and stubbing 4 toes, I did it!  All that was left was assembling the drawers and screwing on the front and back panels. 


In all, it took about 2 hours to complete, start to finish.  That includes time to take it out of the box, organize, clean off the styrofoam clinger demons, and putting it all together.  It took about another hour after that to rearrange and get all the electrics hooked up.  But I am SO pleased with it.  It's much bigger than I pictured it, but that gives me a little bit of room in front of the TV for some decorative something.  I'm excited because I have my cable box, DVD/VCR AND my old Playstation 2 hooked up.  There is room on the other side of my TV for a wii...when someone gets that for me for my birthday (hint, hint).  It's not the most durable piece of furniture, but it's made of real wood, not the composite stuff, so it should at least last 3 or 4 years if I'm easy on it.  Okay...here's the finished product in place and all:


I have a sore back from being hunched over and moving big pieces probably the "incorrect way" but it's nothing a couple of ibuprofen and heating pad won't fix...and totally worth it.  Have ya'll built any furniture lately?  Ever tried building something by yourself?  Let's hear those stories of failures and successes!  And does anyone have any secret weapons to lure out all the styrofoam demons so I don't still find them months from now?

LinkWithin

Related Posts Plugin for WordPress, Blogger...