In the meantime...it is March and time for a new wreath for my door! Remember the heart wreath? Well, that was fun and cute for February and Valentine's Day, but it was time to move on! I wanted to do something green for St. Patrick's Day. However, I didn't want to to be too cheesy or too shamrock-y because I wanted it to be able to stay up later than just for the holiday. When I was trying to come up with ideas for this wreath, I decided I wanted it to be bright and colorful...something that looked "springy". I also wanted it to have a lot of texture and fabric, but be different from my February wreath. So...this is what I came up with:
It was SUPER easy, SUPER cheap, and SUPER fast!
Here's what you'll need if you want to make one similar:
- A foam wreath form. You could do any shape, any size. Mine is an 8-inch round.
- Fabric in color/texture of choice for the main wreath. I used a remnant of green soft flannel cotton I found in the bin at JoAnn's. You could also use ribbon.
- Extra fabric scraps for the flower/accent decor. I didn't have a lot to choose from at home (at least not in the colors I wanted), so I bought this pack of quilting squares for $5.00 at JoAnn's.
- Scissors
- Hot glue gun
- Straight pins
Here's the steps I took:
- Snip the end of the fabric in about 1 inch sections.
2. Grab both sides of the slit, and pull apart to the other end. Most fabric will naturally tear through in a straight line without a lot of effort.
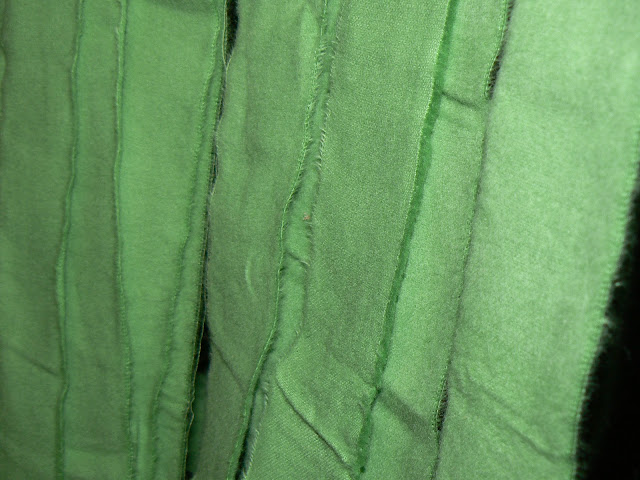
When you're done, you should have a bunch of strips like this with beautiful, slightly frayed texture!
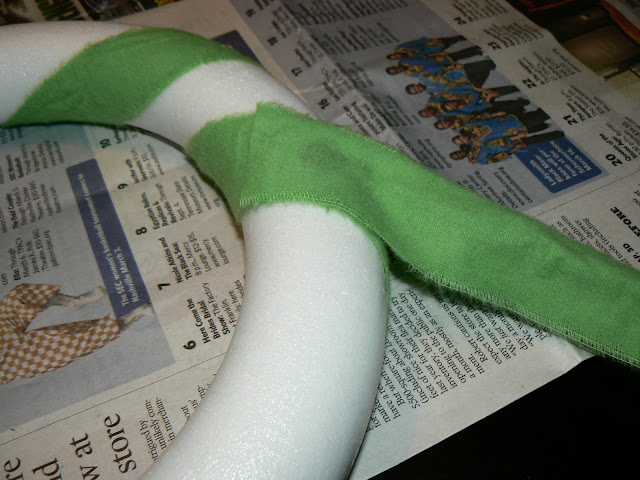
3. Glue down the end of the first strip and wrap around the wreath. I put a dot of hot glue about every two-three wrap arounds on the back side. I glued it at a slant so that the fabric wouldn't bunch up in the center.
When you get to the end of one strip, glue it down, then start the next strip in the same spot you ended the first.
4. Continue wrapping around with the strips until you get all the way around the wreath form.
5. Continue wrapping and gluing strips until you've covered all the white foam. Then, I pulled up the ends on the back and snipped the excess.
6. I pulled out all the scraps to decide. Here were my choices:
I narrowed it down to these three. I added a fourth later because I still needed some more "fluff" to make my flower look right and cover the pins.
7. Cut each square in two pieces. It doesn't matter if you use a straight pair of scissors or pinking shears. I used two squares of each pattern.
8. Fold each piece like an accordion. This reminded me of making paper fans when I was little. :o)
9. Stick a pin through the end and just stick all the little fans in a cluster on your wreath. This part took the longest, because I played around with the different arrangements, fluffing them in different ways, making sure the pins were covered, etc. I chose to cluster mine off-centered.
10. For the hanger, I just used an extra scrap of fabric and hot glued it really good.
Here's my flower cluster:
And my final wreath:
I like the way it turned out, but I may add a little more "something"...not sure what yet.
Hope you like it! This can definitely be modified for other holidays/months/themes with different colors and fabrics. Have fun with it!
Look forward to my April wreath for Easter. I'm SOOO excited about it and it is SO easy and fun!
PS...This is my first time ever, but I'm linking up to Under the Table and Dreaming. Head on over for some more great ideas!


Thanks for the directions on the fabric flowers. After learning how to do a yarn wreath this weekend, I decided to make these for Christmas. I thought I remembered you having a tutorial on those flowers though. Glad I remembered. Thanks!
ReplyDeleteYou're welcome! I'm glad you thought to look back! Let me know how yours turn out!!
ReplyDelete